🚀 5 Minute Guide
Connect Publora to Claude Desktop
Follow these simple steps to connect Publora using MCP.
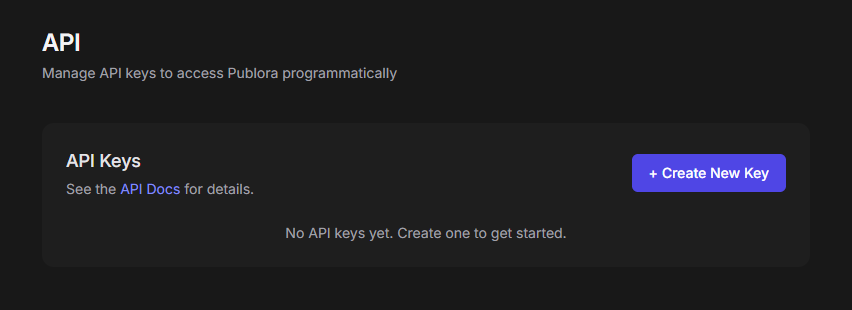
Open PubloraStep 2 — Generate an API Key
Go to Settings → API Keys → Generate Key.
Step 3 — Copy the MCP Configuration
Copy the generated MCP configuration.
  {
  "mcpServers": {
    "publora": {
      "type": "http",
      "url": "https://mcp.publora.com",
      "headers": {
        "Authorization": "Bearer YOUR_API_KEY"
      }
    }
  }
}
Step 4 — Open Claude Desktop
Developer → Edit Config → claude_desktop_config.json
Step 5 — Paste the Configuration
Paste the MCP configuration into the Claude Desktop configuration file (.JSON) and replace YOUR_API_KEY with your generated key.
✅ Finished!
Save the file and restart Claude Desktop. Publora should now appear in your MCP tools.
💡 PS
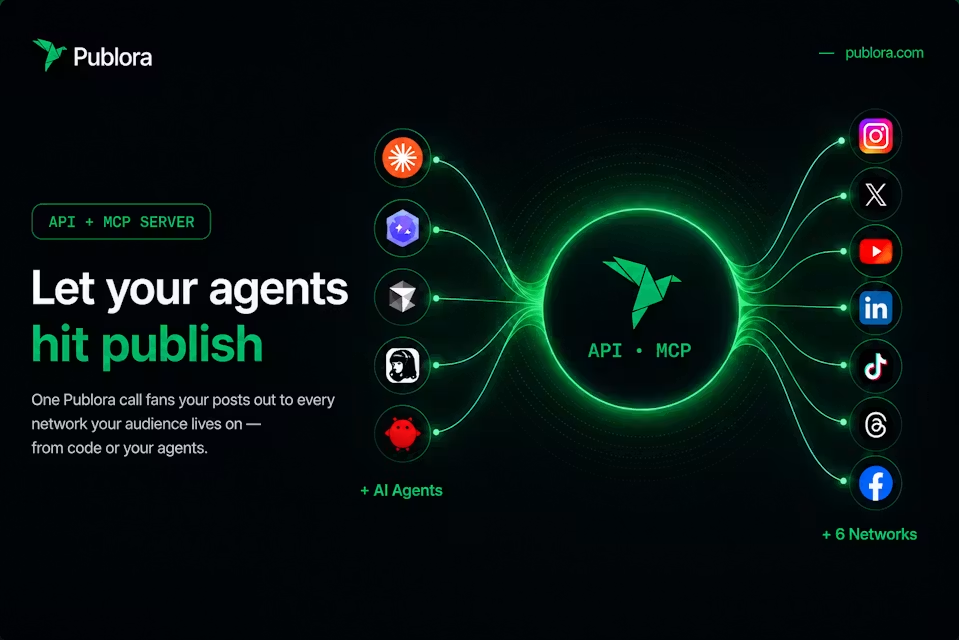
Publora isn't limited to Claude Desktop. Since it uses the Model Context Protocol (MCP), you can connect it to any AI assistant or application that supports MCP—not just Claude.